TREEMENDUS 

 Quality handmade Scale Model Trees, Scenic Dioramas, Tree Kits, Scenic Kits and a whole range of professional quality scenic modeling materials from the United Kingdom.

Ideal for 1/35 & 54mm scale, although some of these products are compatible with other scales.

Back to TREEMENDUS Product Page

Back to Groundwork & Diorama Aids Index

Click on small photo to see larger photo.

TREEMENDUS Step by Step Tutorial: Building Model Trees & Foliage for Shrubs, undergrowth, etc. by Anthony Reeves of Treemendus

Note: Follow Steps 20-23 only to build shrubs, bushes & undergrowth, etc.!

Step

Description Photos
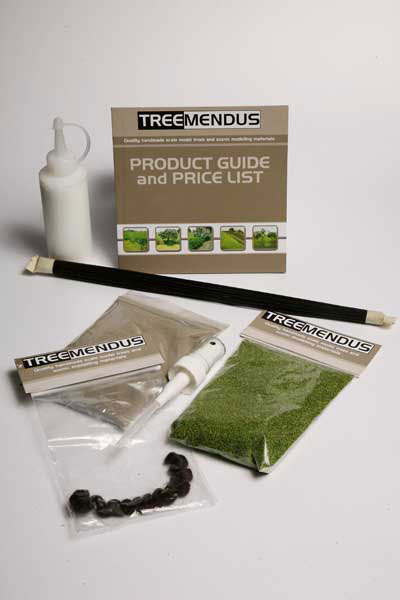
1.  Building a tree with TR-02 Treemendus Tree Kit tree-kit-scenic-kit-and-dio.jpg (24877 bytes)
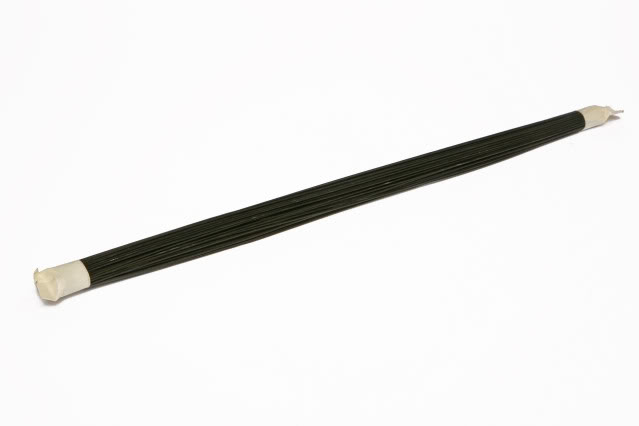
2. Take the wire 2a.jpg (13968 bytes)
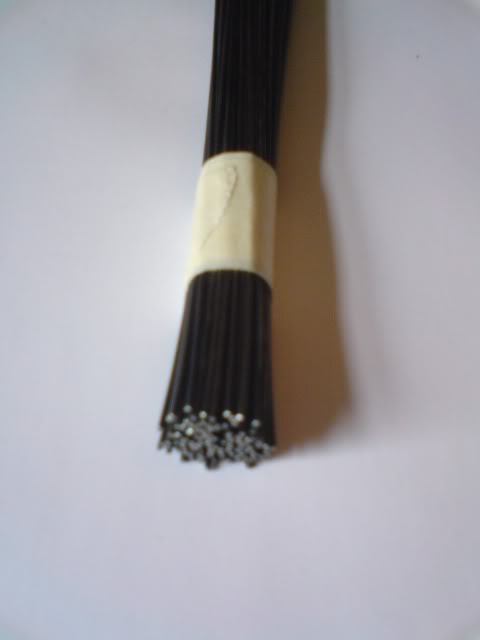
3. Tap the end on a flat surface to give this result. 2b.jpg (14779 bytes)
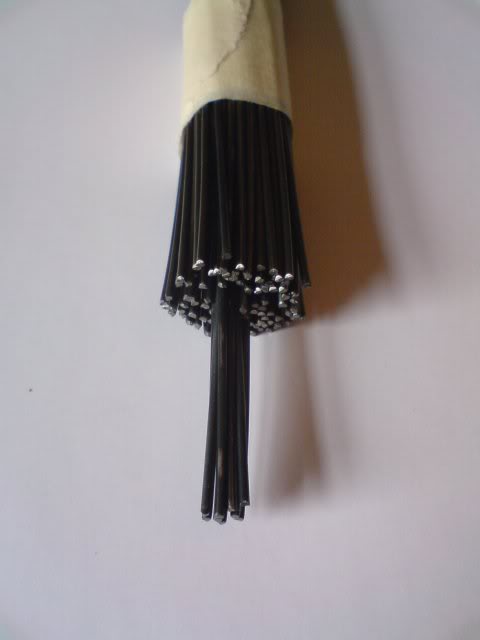
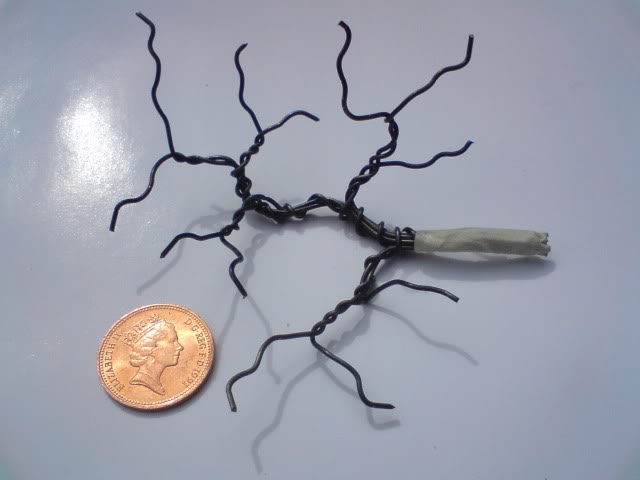
4. Pull a few strands from the center. This will be an anchor for the tree. 2c.jpg (15578 bytes)
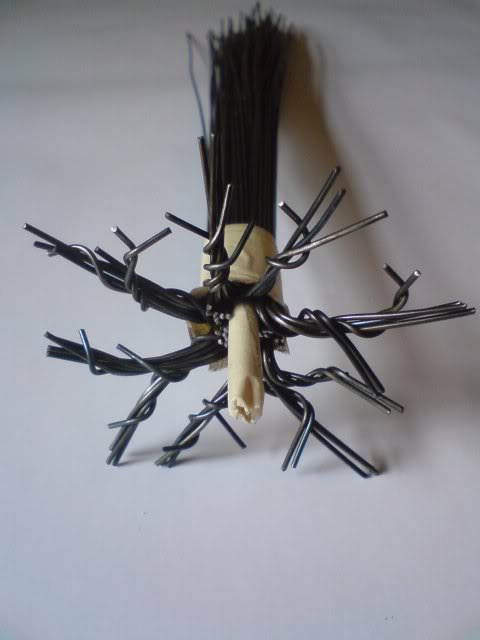
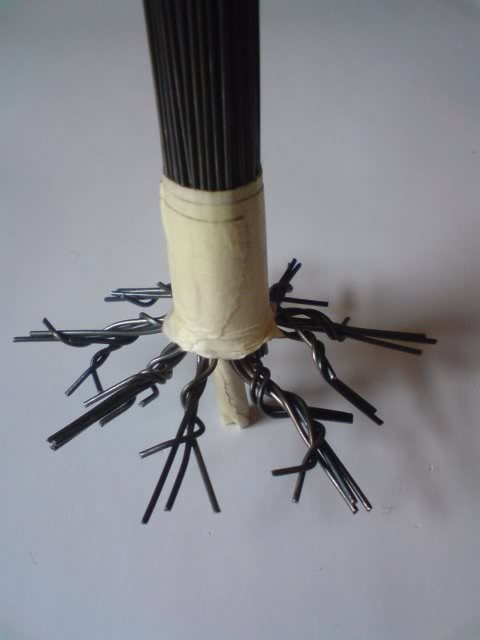
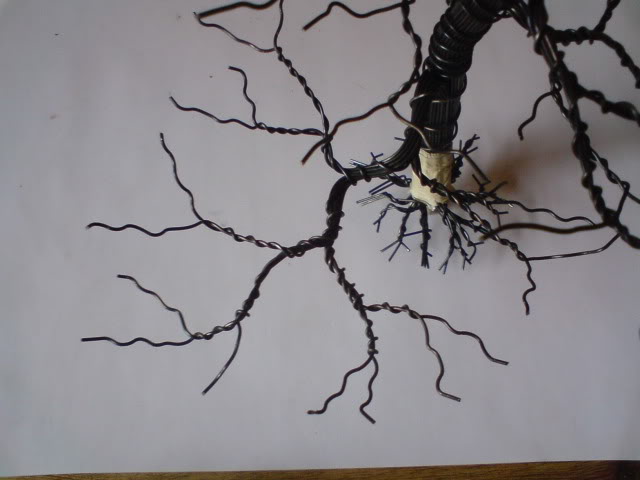
5. Put tape around the anchor and bend the wires upwards to create a root system. Not all trees have roots like this but it will give your model a bit of extra character. 2d.jpg (26165 bytes)

2e.jpg (22050 bytes)

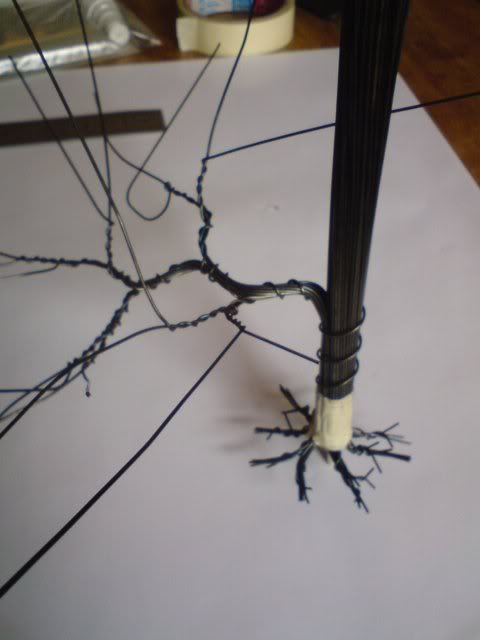
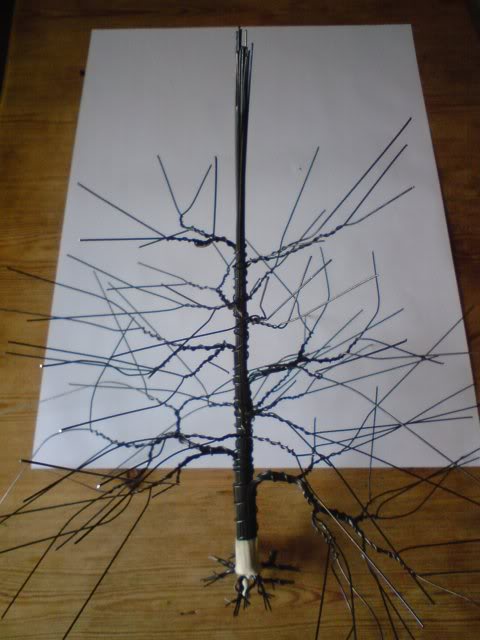
6. Take one wire and wrap it around the trunk until you get to the point where you want the first branch. Take 12-15 wires and bend them down and outwards. These wires are now your first branch. Continue winding with the wire that was going up your trunk. This will now become one of the side branches. Then create a branch system as this. 2f.jpg (24718 bytes)
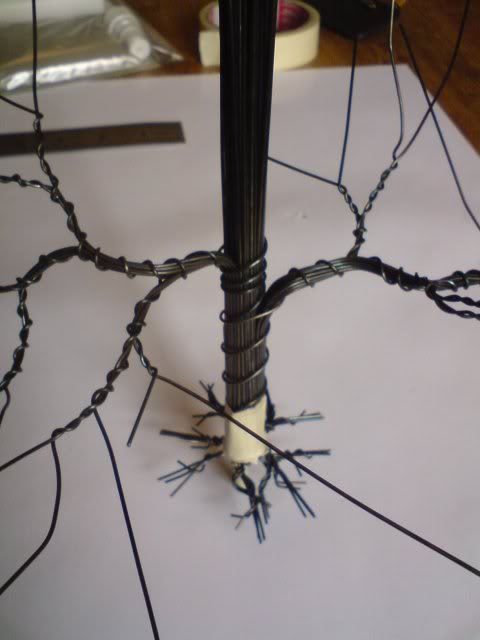
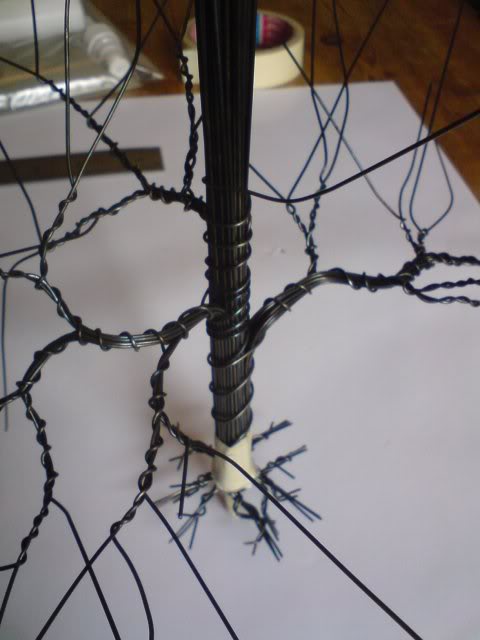
7. Repeat the above step on the opposite side of the trunk slightly higher up. Next place a branch at the back, then the front and continue all the way up the trunk. Use fewer wires the further up you get. 2g.jpg (28946 bytes)

2h.jpg (35725 bytes)

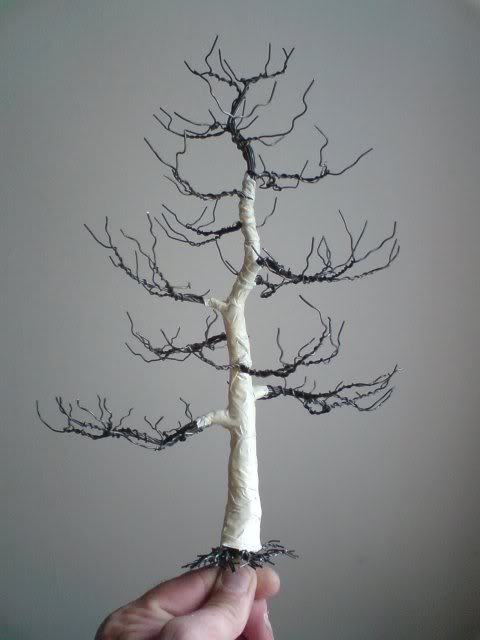
8. The branch structure is now complete. This example is 11 inches in height but the wires can be cut prior to construction so you can get 3-4 smaller trees if you wish. 2j.jpg (43192 bytes)
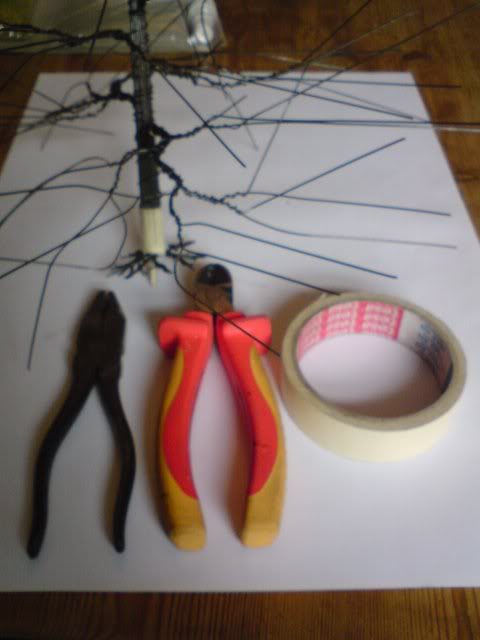
9. Next take some wire cutters or pliers and have some masking tape ready for the next stage 2l.jpg (29315 bytes)
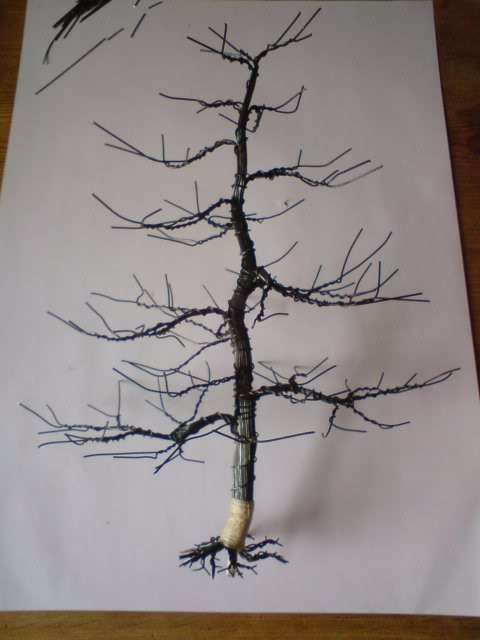
10. Trim the wires but leave an inch or so stub 2m.jpg (39681 bytes)
11. The whole tree has now been trimmed. This reveals something that already looks more like a tree. Note too that the trunk has been shaped to give a more natural looking result. 2n.jpg (32748 bytes)
12. Any off cuts of wire are perfect for making branches to use as cammo on your tanks 2o.jpg (33415 bytes)
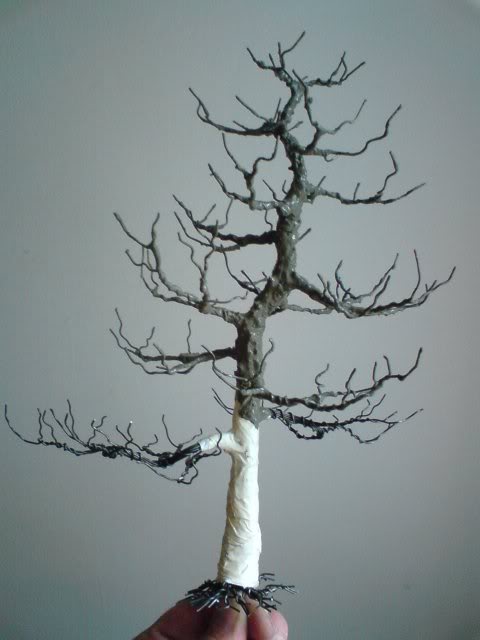
13. Next take the masking tape and tightly wrap it around the trunk and lower branches. This not only bulks the trunk and branches up but also hides the wires wrapped around them. 2p.jpg (28546 bytes)
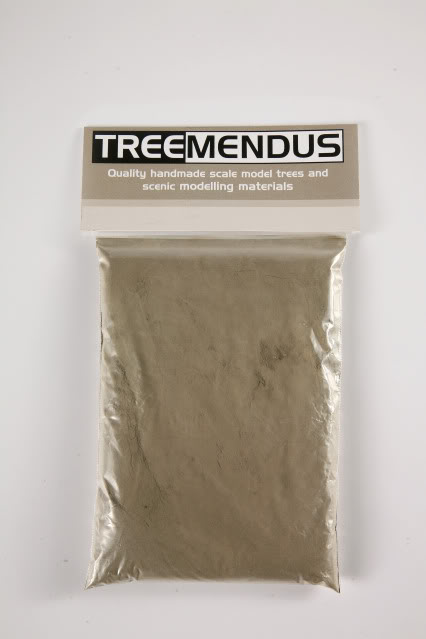
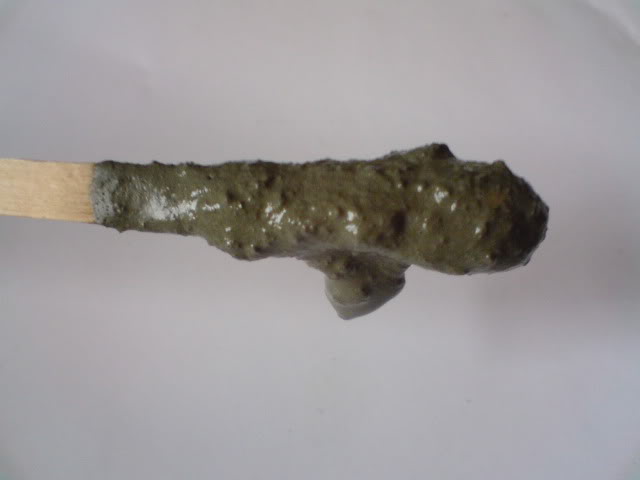
14. Take the bark powder and glue and mix about a quarter of the pack of powder with a small amount of glue. Add a little glue at a time. The perfect consistency should just stick to a mixing stick. 2q.jpg (27333 bytes)

2r.jpg (11722 bytes)

2s.jpg (19315 bytes)

15. Starting at the top (so you can hold the trunk) paint the bark mixture onto the branches and trunk working your way down. The mixture contains all the texture you see here straight out of the bag. 2t.jpg (31356 bytes)
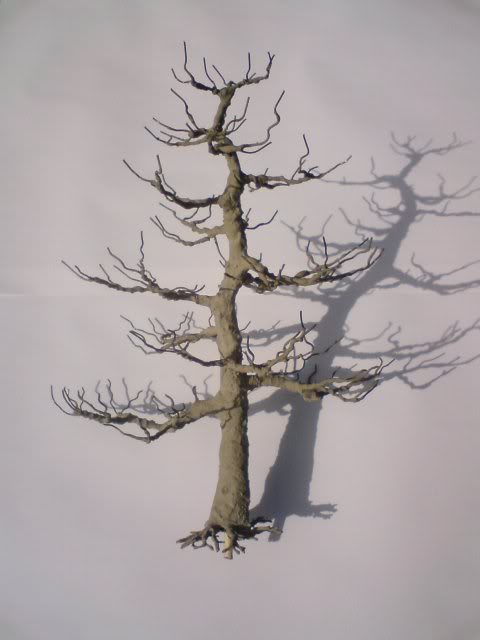
16. When the whole trunk has been covered it must be left for 24hrs or so to completely dry. 2u.jpg (31801 bytes)
17. Once dry, any blobs of bark on the branch tips can be picked off and the branch structure can be given a light spray with an aerosol or airbrush to make sure all the bare wires are covered. 2v.jpg (29103 bytes)
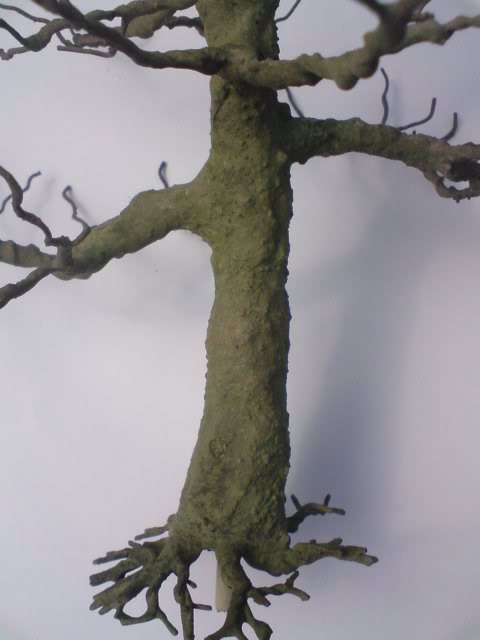
18. Give the whole tree a wash with water colors to give a realistic weathered look. 2x.jpg (29769 bytes)
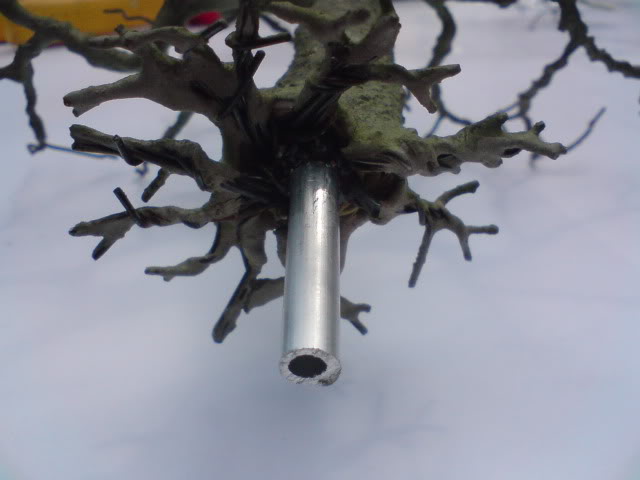
19. This tree is for an exhibition model railway (it is going to be placed on an embankment, this is why the root system is set at an angle) I always add an aluminum pin which fits inside a slightly bigger one which will be fixed in position on the embankment. This allows the tree to be taken off the layout and transported/stored separately. 2y.jpg (35894 bytes)
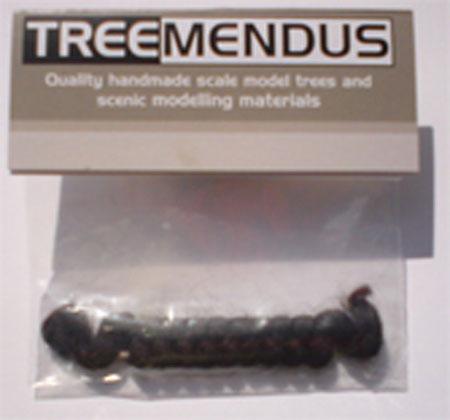
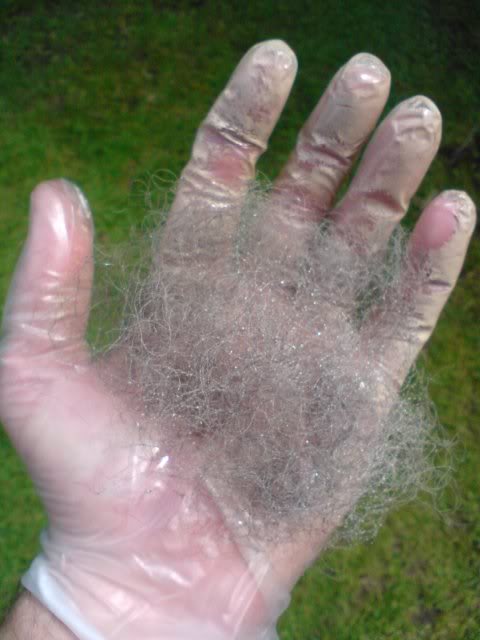
20. Next is the process of adding the fine branch system and the foliage. Take the "canopy" TR-07.jpg (23916 bytes)
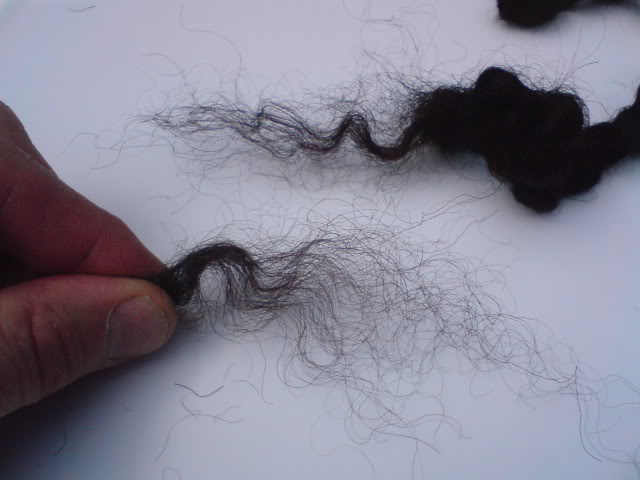
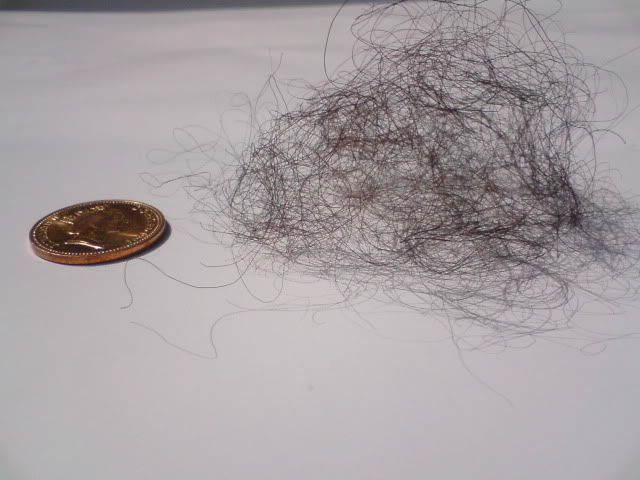
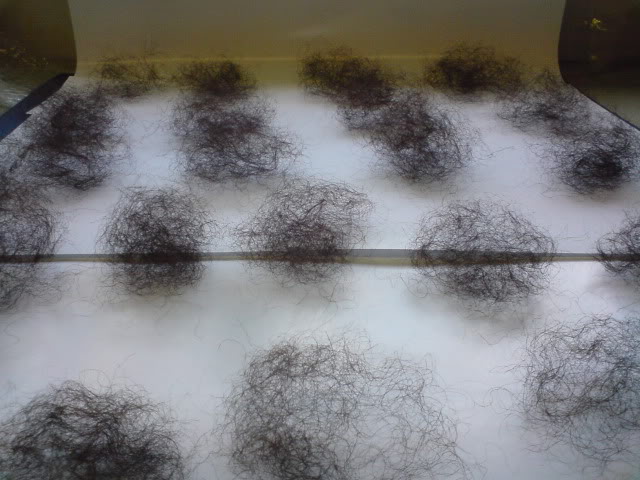
21. Pull a small amount off the plait and tease it into a open structure. Make up a batch, enough to cover the tree ideally and spray these with an aerosol type paint (this isn't crucial but does give the canopy more strength) which can result in a more open canopy. 3a.jpg (43935 bytes)

3b.jpg (55898 bytes)

3c.jpg (66721 bytes)

3d.jpg (39498 bytes)

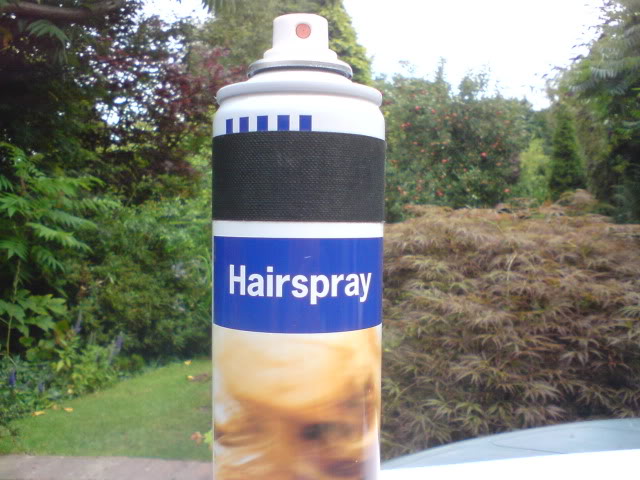
22. Take one of the canopies and give it a good spray with hairspray. turn it over and repeat 3e.jpg (71731 bytes)
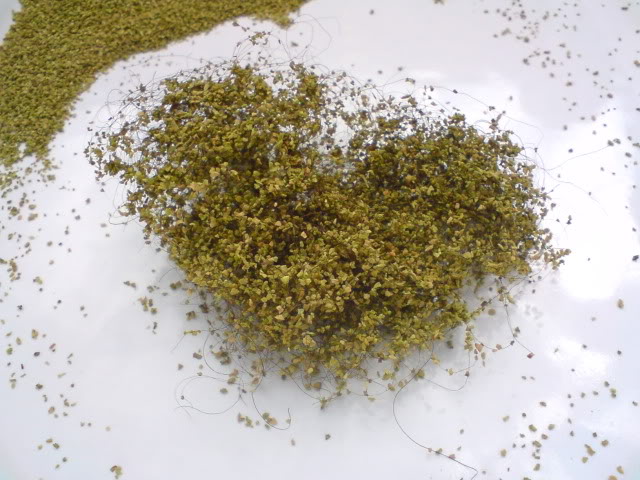
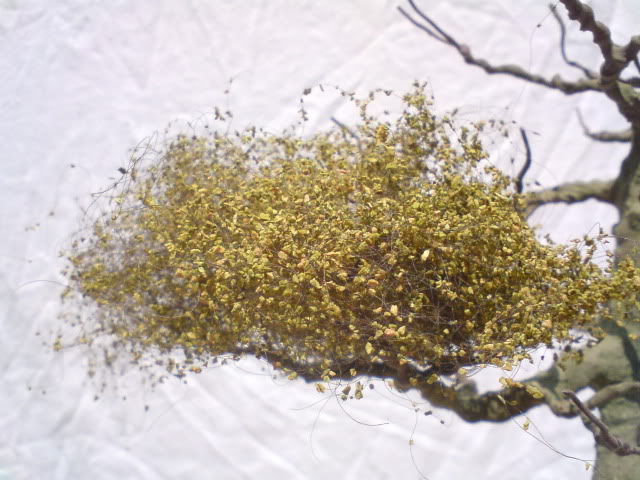
23. Take the Scatter foliage and sprinkle it all over the canopy, turn it over and sprinkle on the other side too. 3f.jpg (82076 bytes)
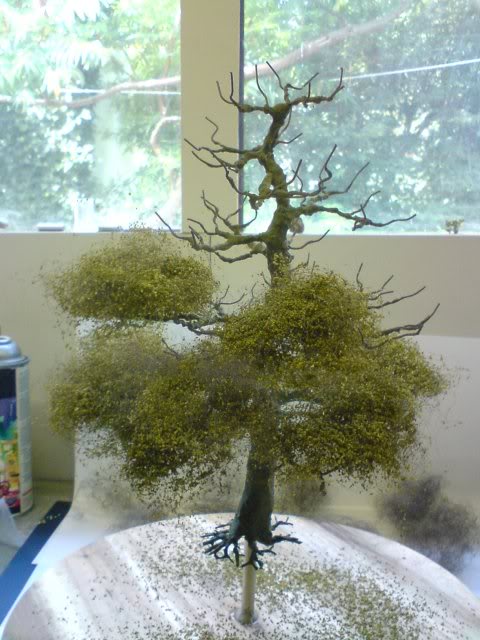
24. This is then placed on the branch structure you have previously made. You don't need to glue it on at this stage. Repeat the two above steps until the whole tree armature has been covered 3g.jpg (78599 bytes)

3h.jpg (64625 bytes)

3i.jpg (55511 bytes)

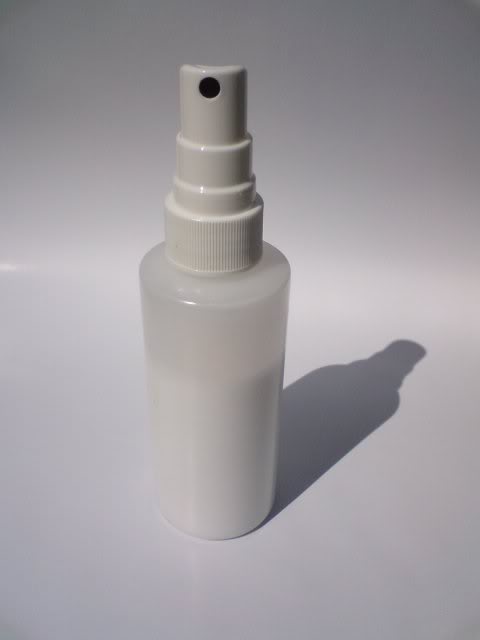
25. Once the whole tree has been covered, take the atomiser (supplied with the kit) and screw it on the glue bottle. Give the whole tree a good soaking with the glue through the atomiser. This will turn the whole tree white but it will dry to a clear matt finish which is very durable. This stage also sticks the canopy to the armature. Try to avoid getting too much onto the trunk area and if possible dab any excess off with a tissue. Set aside to dry for approx 24hrs. 3j.jpg (74792 bytes)
26. After 24 hours or so the tree will have completely dried.

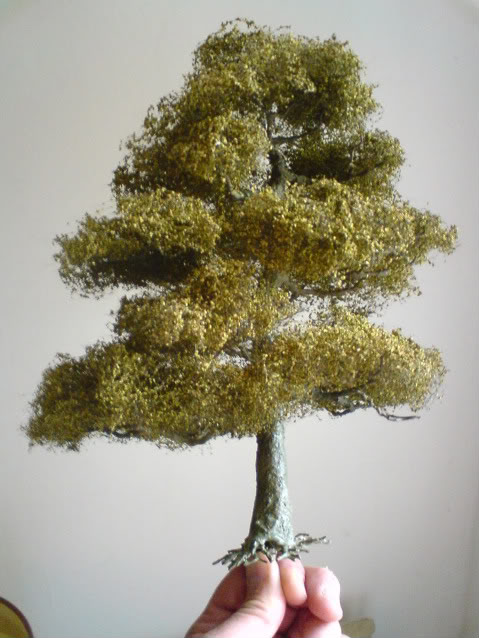
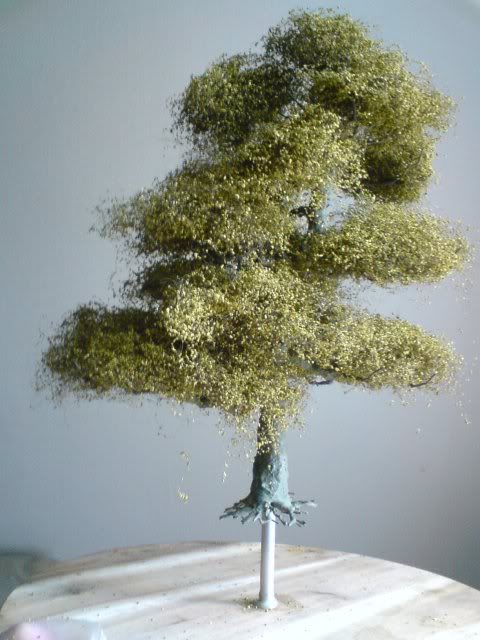
The time has come to refine the tree. Using both hands gently pull at the canopy to give it a more open structure. At this point scatter will fall off the model as not all the scatter will have come into contact with the glue but this is ok as you are trying to give a nice open airy look to the tree. You can be fairly rough with it at this stage, continue teasing until you are happy with the look. Some people prefer a denser canopy and others a more open look. It is a matter of taste and somewhat dependant on the scale being modelled.

This photo shows the tree about half way through the process.
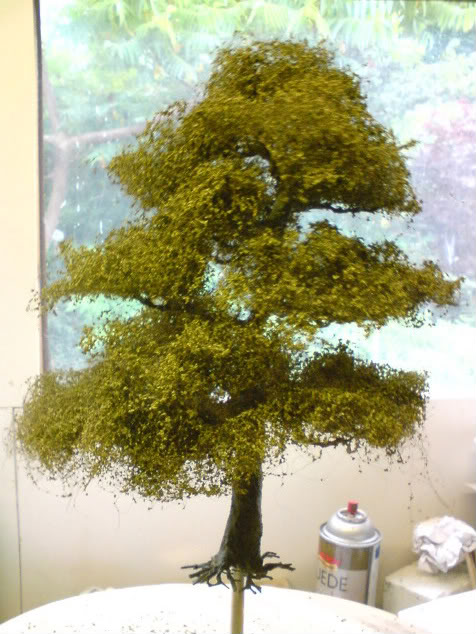
3k.jpg (81972 bytes)
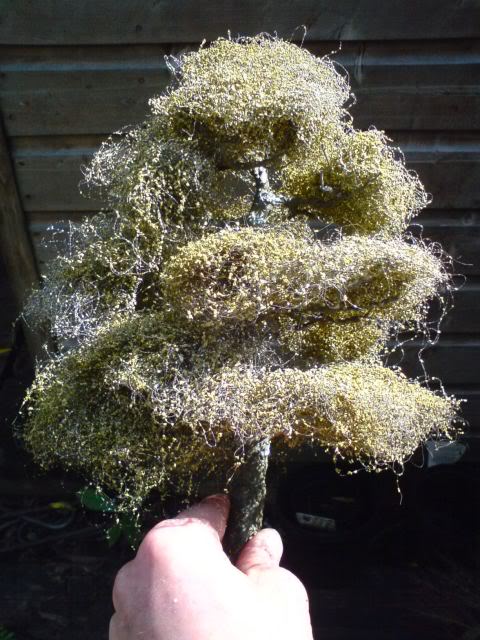
27. When you have achieved the look you want, trim any hanging and flyaway canopy off with scissors. It is worth taking your time over this step as this is the final refinement stage. It is worth noting that usually branches do not grow underneath the main bough so try to give your model mounds of foliage sat on the main branches. It may be necessary to give a final spray of Scenefix glue through the atomiser to help keep everything in place. I also recommend giving the undersides of the canopy a light spray with black paint to give the impression of the shade underneath the structure. 3l.jpg (67454 bytes)
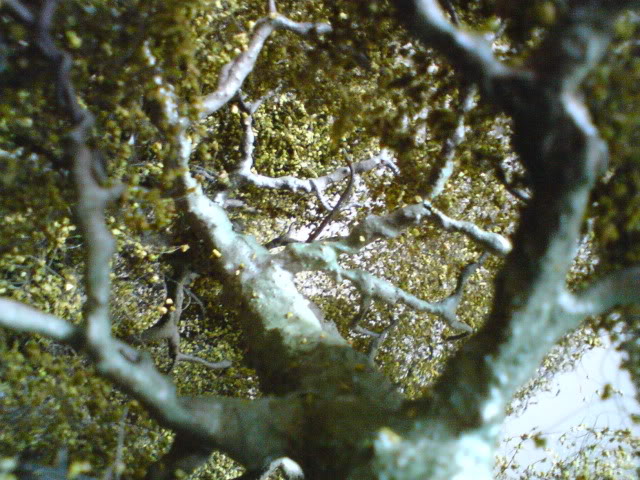
28. Here is a angle that will never be seen when the tree is in place on the layout or diorama but does show how realistic the results can be. 3m.jpg (102442 bytes)
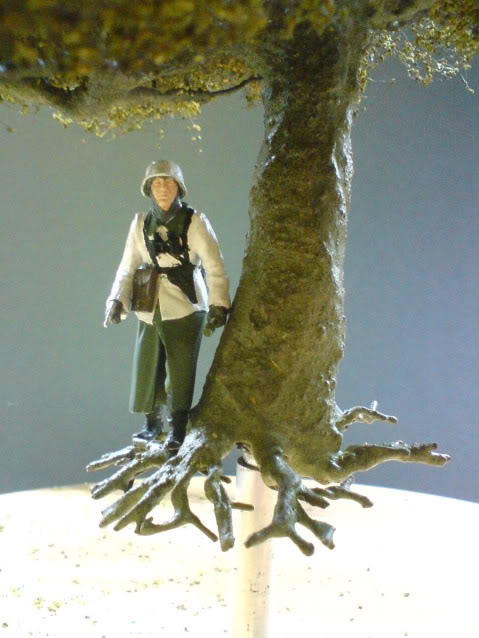
29. This final shot gives a good impression of the scale of this English Oak tree using a 1/35 scale figure. 3o.jpg (59213 bytes)

<-Back to Treemendus Product Page


Hit Counter

TR-07 Canopy.  Canopy is a synthetic hair used to create tree canopies, bushes, shrubs, bracken and climbing ivy etc. supplied as a 6”plait the hair is teased out and shaped as desired. It can be used to create light, airy canopies or dense undergrowth as required. This is then sprayed with hairspray and sprinkled with “leaves” from our range of scatters (TR-08 series available below). -  Finish with spray white glue for permanent adhesion. $5.99

TR-07.jpg (23916 bytes)